Billing
Purpose
This facility is mainly for the Finance Department and Managers of the company. Billing function helps users in following operations;
- To add billable time to jobs.
- To mark jobs need be invoiced.
- View invoiceable jobs.
- To mark/ view jobs already invoiced.
- To view job details of current running jobs.
Steps:
Main view -> Click on  drop-down -> Select
  from the drop-down list
Adding Billable Time to Jobs
Purpose
To add billable time out of total worked time in jobs. This option is available for Managers and Admin users of the system.
Steps:
Step 1: Click on drop-down -> Select
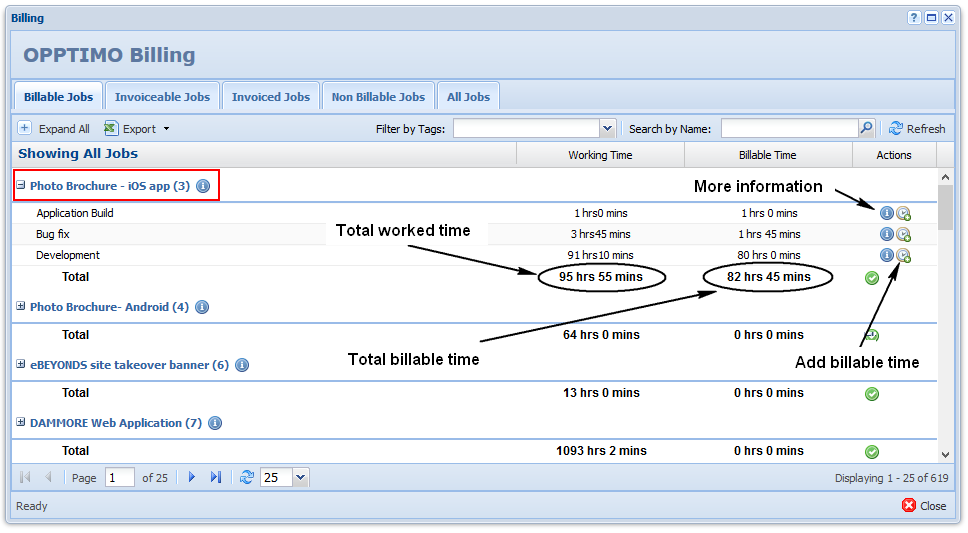
Step 2: Click on “Billable Jobs” tab in “Billing” window. (“Billable Jobs” tab contains all jobs in In-Progress & Hold state.)
Step 3: Select the job you need to add billable time.
Step 4: Expand the job by clicking  icon. (This provides you total time spent in each task in the job.)
Step 5: Click on  icon in front of the task you wish to add the billable time. Enter the billable time in hours & minutes in “Add Billable Time” window.
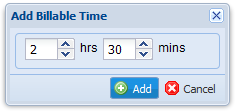
Step 6: Click on  button. “Add Billable Time” window will closed and success message
  will appear in the bottom billing window. (Repeat step 5 & 6 for all tasks that you need to bill.)
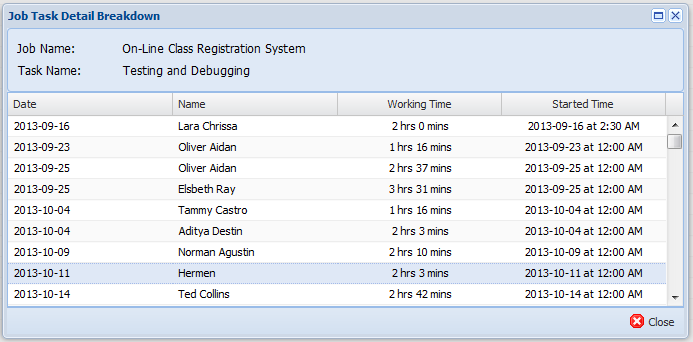
Job Tasks Details Breakdown
Purpose
This function facilitate to view each person who worked on the selected task with total worked time.
Steps:
Step 1: Click on drop-down -> Select -> Click on "Billable Jobs" tab
Step 2: Select the task under job you need view job task details breakdown
Step 3: Click "More Information"  icon infront of the task selected to open below Job task details breakdown window.
Mark Job to Invoice
Steps:
Step 1: Click on drop-down -> Select
Step 2: Select the job need to be send for invoicing.
Step 3: Click on  icon to prompt “Mark As Ready Bill” window. Enter description required for billing in [Billing Description] text area and type any comment/ comment in [Comment] text area.
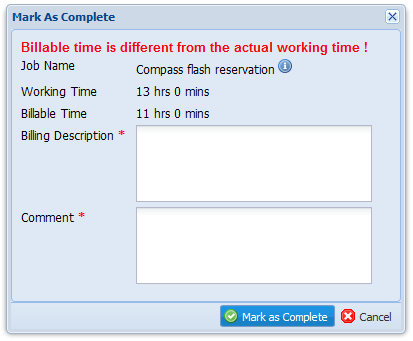
Note:
If the billing time and working time is different, system will display a message of “Billable time is different from the actual working time!” in “Mark As Ready Bill” prompt window as below.

Step 4: Click on  button to save the record.
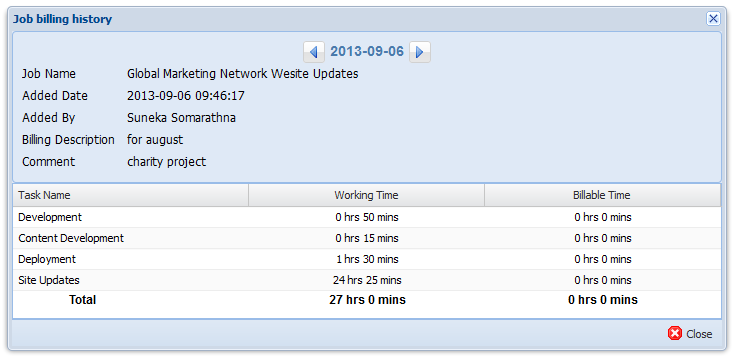
View Billing History
Purpose
Provide the facility to view the billing history of jobs. This function is applicable ONLY for recurrent billing jobs.
Steps:
Step 1: Click on drop-down -> Select
Step 2: Select the job you need to view billing history.
Step 3: Click on  to prompt the “Job Billing History” window. Times are listed according to tasks.
You can navigate through the date by clicking on left & right arrows of  option.
View Invoiceable Jobs
Steps:
Step 1: Click on drop-down -> Select
Step 2: Click on  tab in “Billing” window. This will list all jobs that billing times are added but not invoiced yet.
Step 3: To view job billing details, click on “More Details”  icon. This will prompt “Job Billing Details” window.
Mark Job as Invoiced
Purpose
To mark and identify all invoiced job
Steps:
Step 1: Click on drop-down -> Select
Step 2: Click on tab in “Billing” window.
Step 3: Select the job you need to mark as invoiced. Click on “Mark As Invoiced”  icon.
icon.
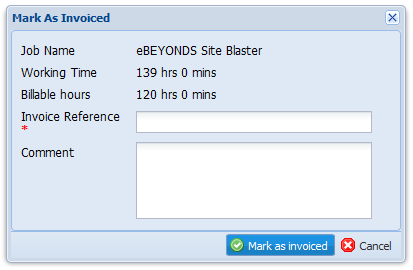
Step 4: Enter invoice reference number and comments in the “Mark As Invoiced” window.
Note:
*Invoice Reference number is mandatory.
Step 5: Click on  button to save the record.
View Invoiced Jobs
Steps:
Step 1: Click on drop-down -> Select
Step 2: Click on  tab in “Billing” window. This will list all invoiced jobs. You can sort the records using table headers.
To export all invoiced jobs, click on  option. To refresh the table records, click on
  option.
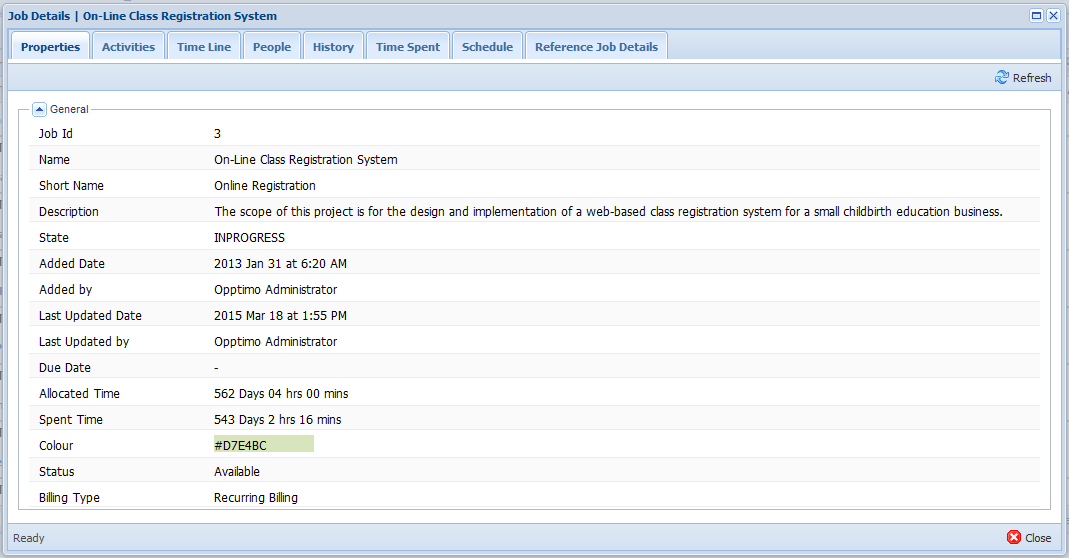
View Job Details of Current Running Jobs
Steps:
Step 1: Click on drop-down -> Select
Step 2: Click on  tab in “Billing” window. This will list all current running jobs as below. You can sort the records using table headers.
Step 3: Select the job you need to view details. Click on “Job Details”  icon to prompt the “Job Details” window.