Jobs
Purpose
Jobs tab allows users to perform all the functions related to the management of Jobs in your system. You can do everything related to the management (e.g.: add, delete, edit) of your job. This option is available ONLY for Manager and Admin Type users of the system.
Steps:
Main view -> Click on “Jobs” tab
Create Job
Steps:
Step 1: Go to “Jobs” tab -> Click on  in jobs toolbar.
Step 2: Enter job information < Name >, < Short Name >, < Type > and < Color > are mandatory fields. Default < Short Name > of Job will be the job name (in capital letters) entered in [Name] field.
Select < Job Type > either as “Normal” or “Contract”. In billing process, continuous billing should be done for Contract type jobs
Note:
Color is automatically giving by the system and users can change the color code of job by clicking on “Select Color”  icon. These color codes are used for the purpose of easy identification of jobs.
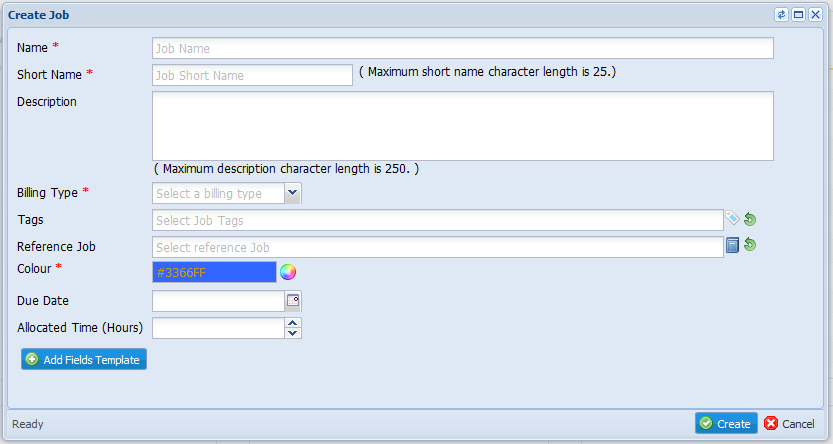
Step 3: Click on  button to save the record.
Note:
If you need to add more fields to store information about job;
Click on  button -> select the template from “Select Job Fields Template” window -> click on
  button.
Update Job Details
Steps:
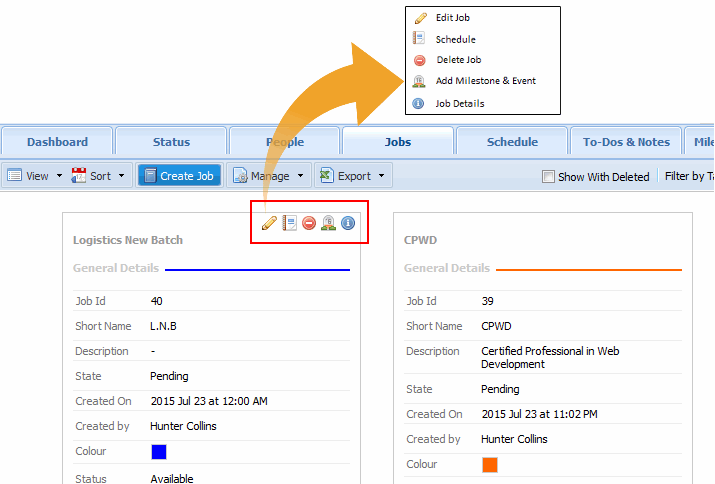
Step 1: Go to “Jobs” tab -> Click on  in job window.
Step 2: Edit job details in “Update Job” window.
Step 3: Click on  button to save modifications.
Delete Jobs
Steps:
Step 1: Go to “Jobs” tab -> Click on  in job window.
Step 2: Click “Yes” on “Confirm” pop-up box to confirm deletion. This is not a permanent removal of job.
Show Deleted Jobs
To view deleted jobs, click on  option in jobs toolbar.
Note:
If you need to restore a deleted job, click on “Make this job available”  icon and click “Yes” button in the confirm pop-up box.
Filter Jobs by Tags
Steps:
Go to “Jobs” tab -> Select job tags from  drop-down.
Filter Jobs by State
Steps:
Go to “Jobs” tab -> Select job state from  drop-down.
There are 4 different states for a job:
- Pending – Job is created but not started working yet.
- In Progress –Started working in job. When someone starts working in a “Pending” state job, state will be automatically changed into “In Progress”.
- Hold – Working on job has temporary hold.
- Finished – Job is completed.
Search Jobs
Steps:
Go to “Jobs” tab -> Type job name, job id in the  option -> Click on magnifying
  icon
icon
View Job Information
To view job information, click on “Jobs” tab -> Click on  in job window to open below "Job Details" window.

1. Properties – Display general information about job such as Job ID, name, short name, job state, added by, added date, last updated by, last updated date, status, colour code, type.
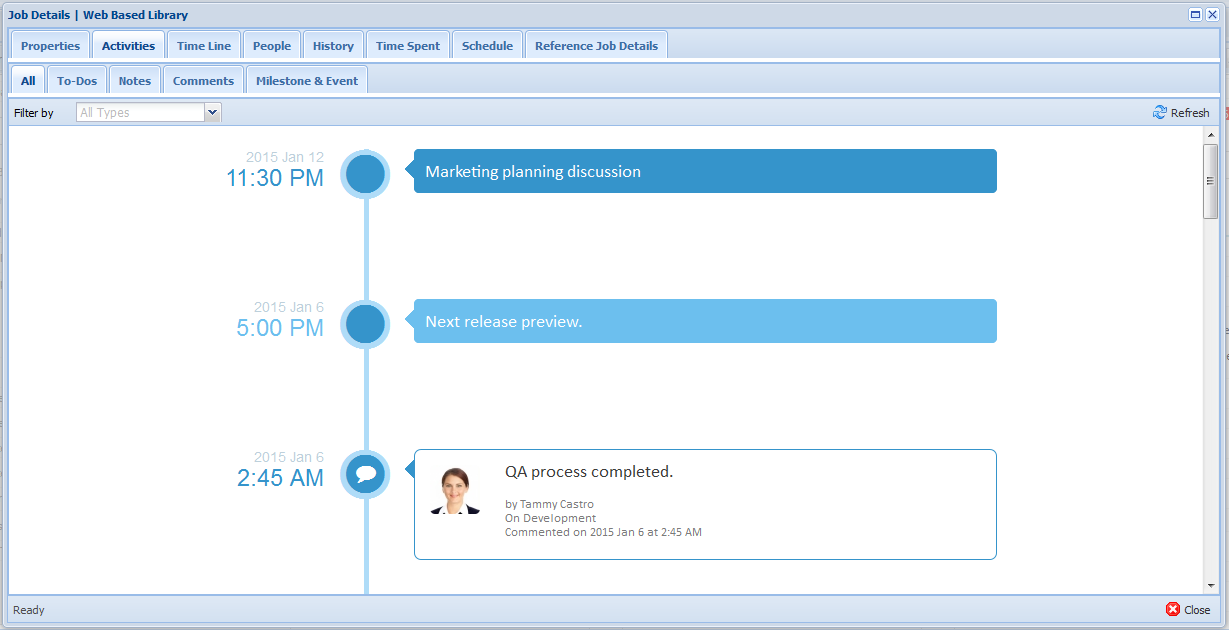
2. Activity – Display activities related for the job.
2-1. All – Display all activities added for the job in interactive timeline.
2-2. To – Dos - Display all the To Do’s added for the job.
2-3. Notes - Display all the Notes added for the job.
2-4. Comments - Display all the Comments added for the job.
2-5. Milestones & Events - Display all Milestones & Events notes added for the job.
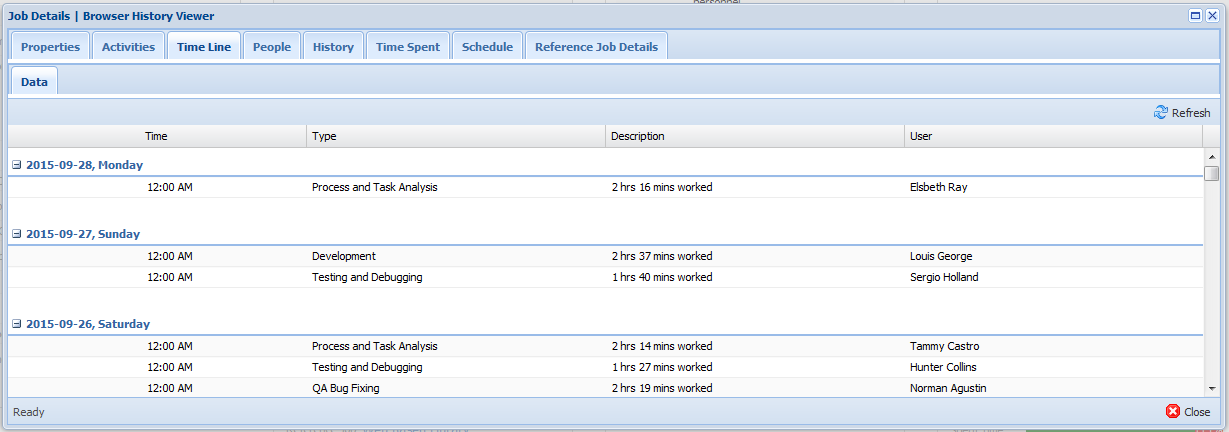
3. Time Line – Display details of time spent in each task of the jobs as below.
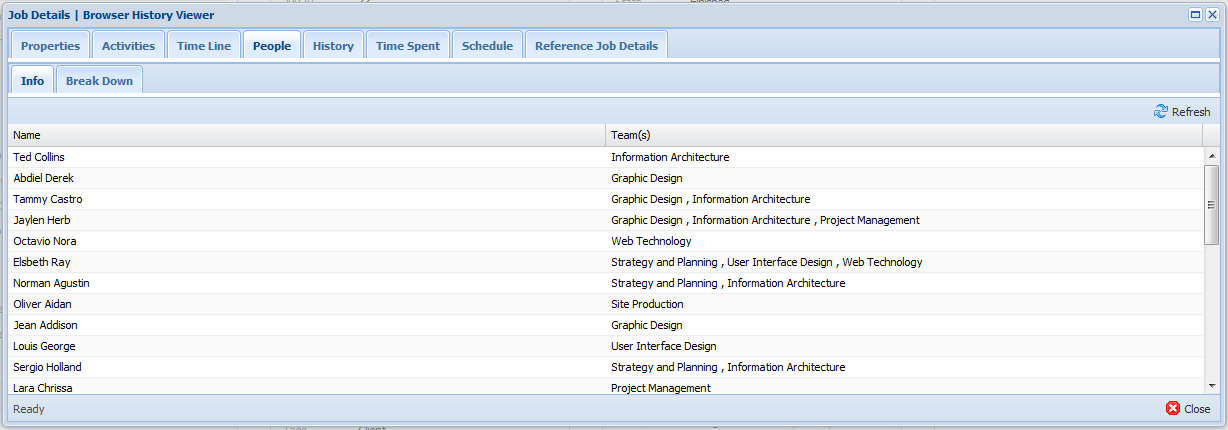
4. People – Display users who worked in selected job.  tab displays the [user name] and [team] of worked users.
 tab displays the worked resources and worked hours in graphical format as below.

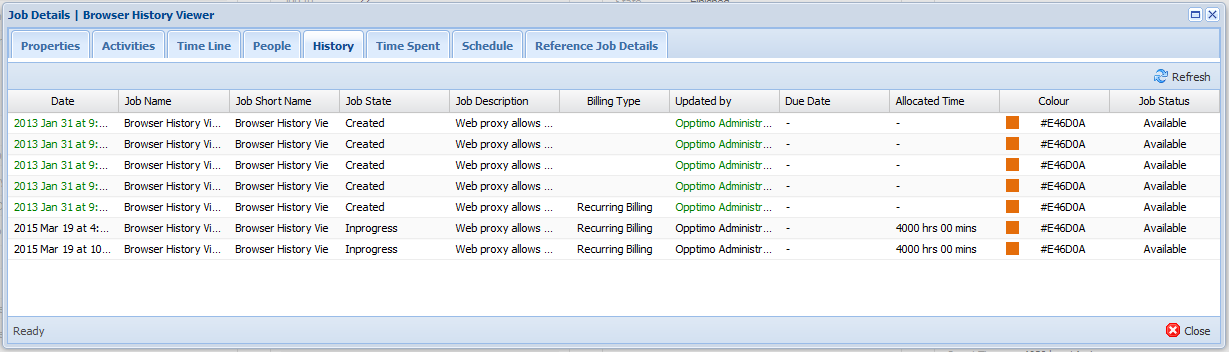
5. History - Provides summary of job including general job details in tabular format as below.
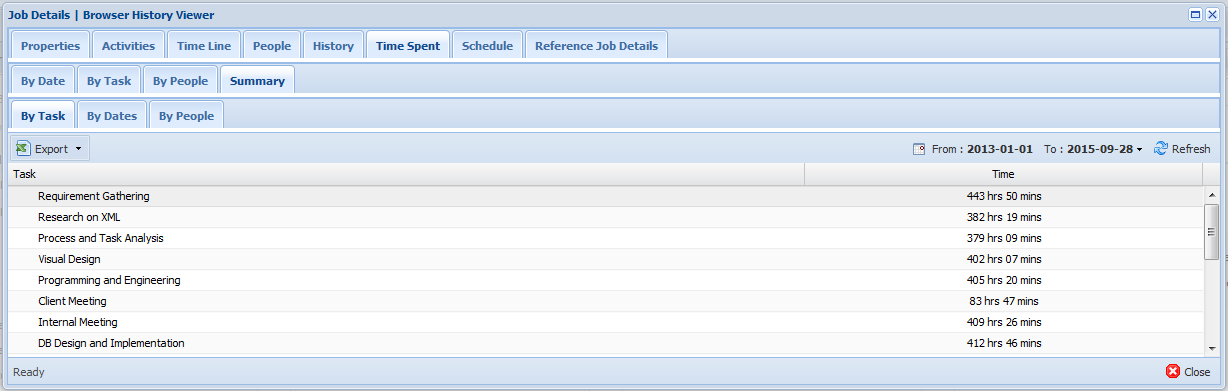
6. Time Spent – Provides the summary of time spent in each and every task. Time can be viewed “By Date”, “By Task”, “By People” & “By Summary”. “By Summary” can be further viewed as “By Task”, “By Date” & “By People”.
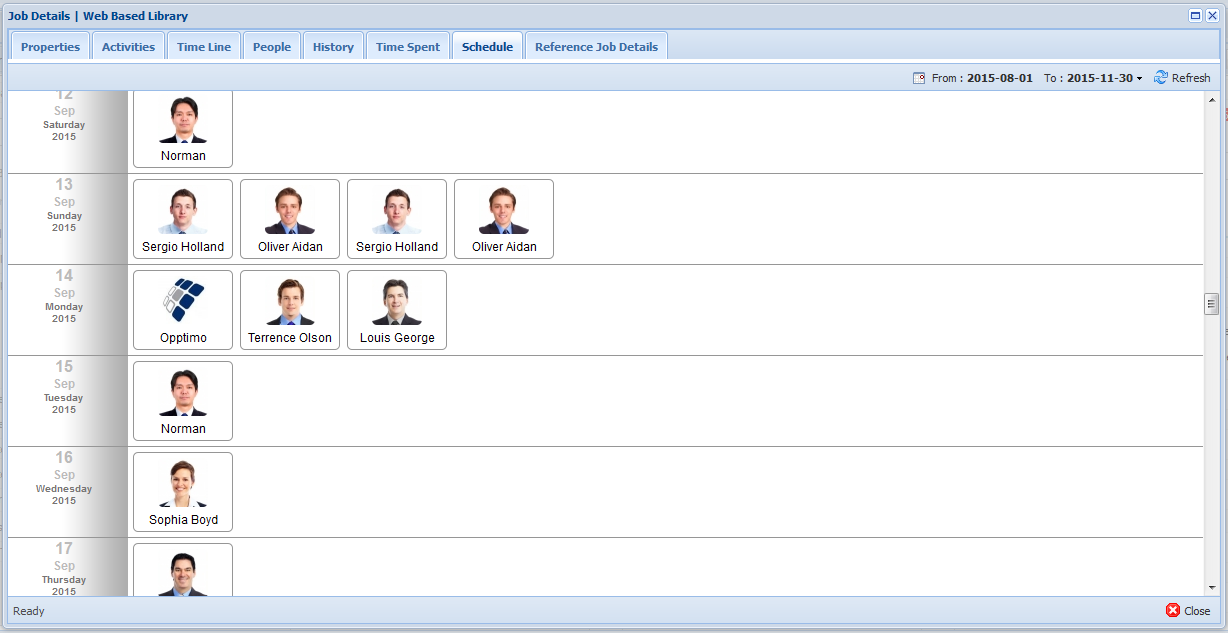
7. Schedule – View scheduled dates and scheduled users for the job.
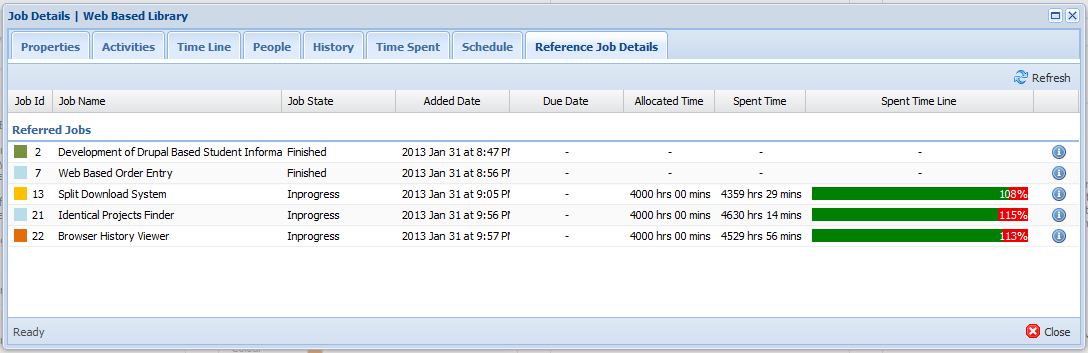
8. Reference Job Details – Details of the referred jobs.