Milestones & Events
Purpose:
Milestone is a significant event in a job that occurs at a point in time. Using Milestones & Events option, OPPTIMO users can schedule deliverables as milestones and also schedule upcoming events.
Adding Milestones & Events
Steps:
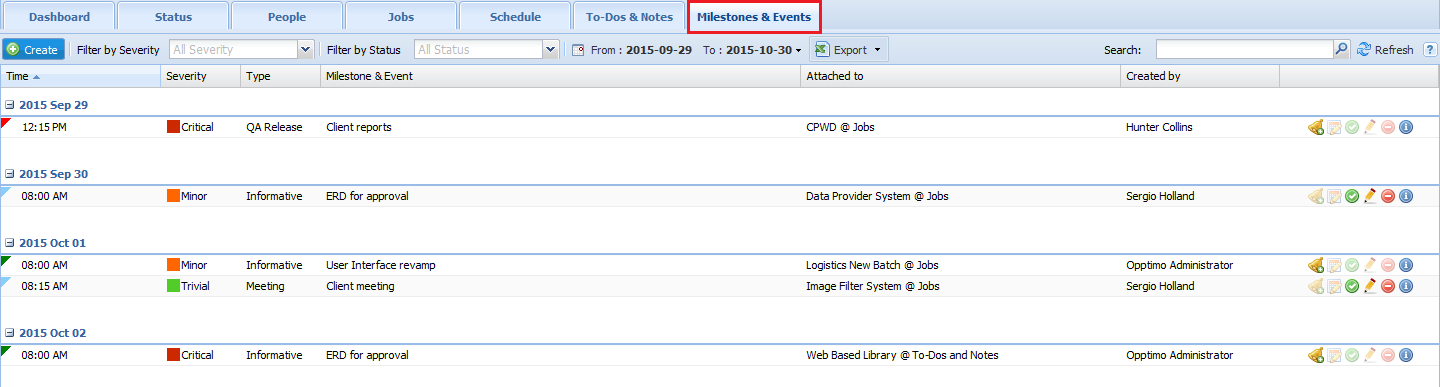
Step 1: Main view -> Click on 'Milestones & Event' tab.
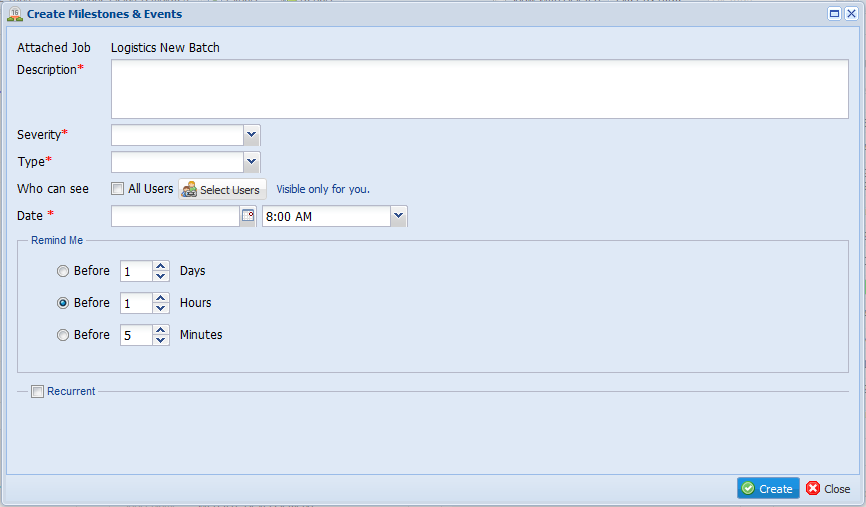
Step 2: Click on  button to open ‘Create Milestones & Events’ window.
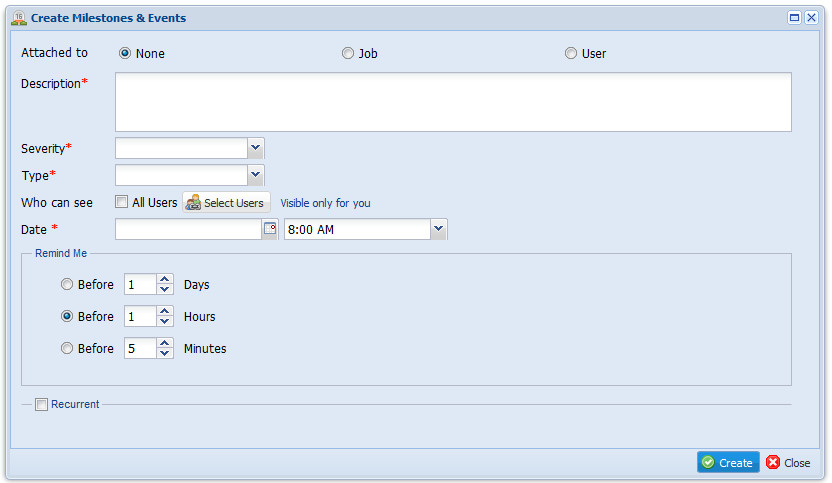
Step 3: Select the option to specify whether the milestone and event need to attached with a specific ‘Job’ or for a specific ‘user’. By default, ‘None’ is selected.

Step 4: Enter [Description] about milestone & event.
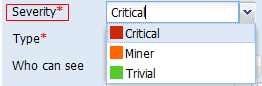
Step 5: Select [Severity] from the dropdown list. Default available Severity levels are Critical, Minor and Trivial.
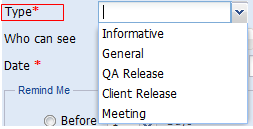
Step 6: Select the [Type] of the milestone & event. Users with ‘Admin’ permission can setup milestones or event types according to the requirements.
Step 7: Setup users whom you need to share the milestone & event from [Who can see]  option.
To make milestone & event visible to all users, select  option.
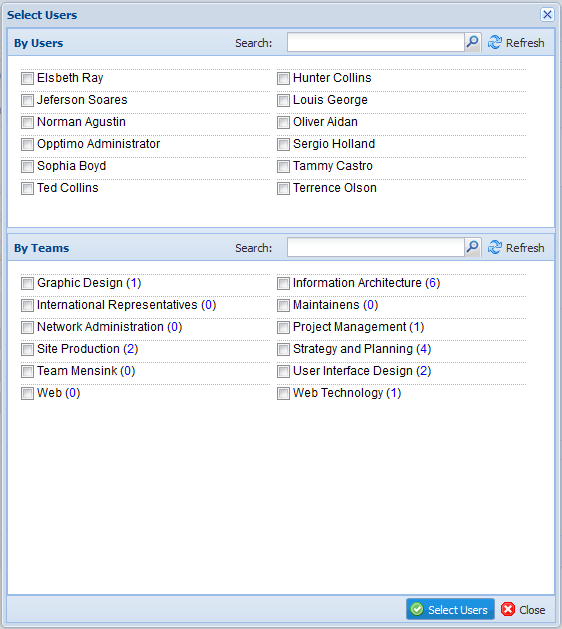
To share milestone & event with selected users, click on  option. From the below ‘Select Users’ window, select the individual users or teams you wish to make milestone & event visible and click
  button. To cancel, click on
  button.
To make the milestone & event visible ONLY for the user who created it, do not select any option (i.e. All Users or Select Users).
Step 8: Set the date & time from [Date] option as below.

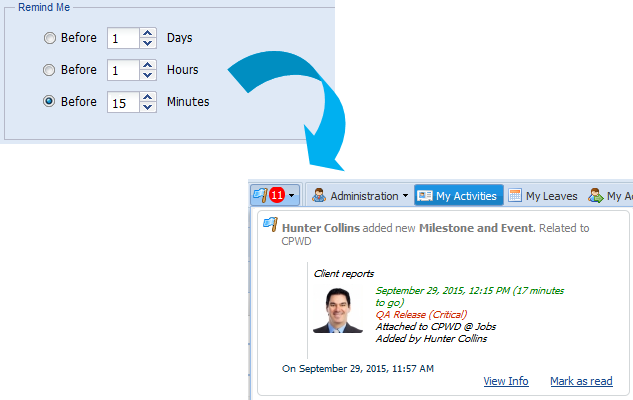
Step 9: Set the reminder in days/ hours/ or minutes in ‘Remind Me’. Once you set a reminder, the application will send a notification automatically.
Step 10: If you need to set a recurrent reminder, click on  option and select [Type] & [To Date] you need to receive a reminder for the scheduled milestone & event.

Step 11: Click on  button to save the milestone & event OR click on
  button to cancel the operation.
Adding a Milestone & Event to a Job
You can add a milestone & event to a specific JOB by following below steps as well:
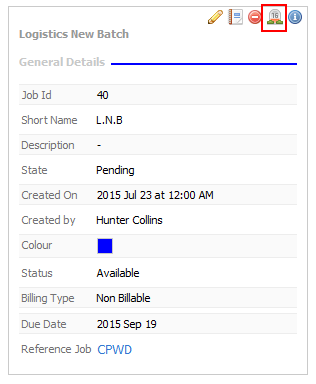
Step 1: Main View -> Jobs -> Click on ‘Add Milestone & Event’ option  on the selected job.
Step 2: Enter [Description] about milestone & event.
Step 3: Select [Severity]> from the dropdown list. Default available Severity levels are Critical, Minor and Trivial.
Step 4: Select the [Type] of the milestone & event. Users with ‘Admin’ permission can setup milestones or event types according to the requirements.
Step 5: Setup users whom you need to share the milestone & event from [Who can see] option.
To make milestone & event visible to all users, select option.
To share milestone & event with selected users, click on option. From the below ‘Select Users’ window, select the individual users or teams you wish to make milestone & event visible and click button. To cancel, click on button.
To make the milestone & event visible ONLY for the user who created it, do not select any option (i.e. All Users or Select Users)
Step 6: Set the date & time from [Date] option as below.
Step 7: Set the reminder in days/ hours/ or minutes in ‘Remind Me’. Once you set a reminder, the application will send a notification automatically.
Step 8: If you need to set a recurrent reminder, click on option and select [Type] & [To Date] you need to receive a reminder for the scheduled milestone & event.
Step 9: Click on button to save the milestone & event OR click on button to cancel the operation.
Adding a Reminder for the Milestone & Event
Purpose:
To add a reminder for a created milestone & event.
Steps:
Step 1: Go to  tab -> Click on ‘Add Reminder’
  icon on the milestone & event you need to add a reminder.
Step 2: Set the time you need to get reminders from below ‘Remind Me After’ window.
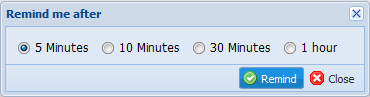
Step 3: Click on  button to set the reminder OR click on button to cancel.
Once you set the reminder, the application will send you reminder notifications.
Change Milestone & Event Time
Purpose:
Using this option, you can change the time of a milestone & event which is already created.
Steps:
Step 1: Go to tab -> Click on ‘Change Time’  icon on the milestone & event you need to change the time.
Step 2: Change the [Date] & [Time] in below ‘Change milestone & Event Time’ window. Default, current scheduled date & time will display in the ‘Change milestone & Event Time’ window.
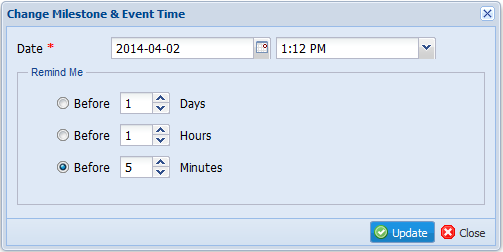
Step 3: Click on  button to save changes OR click on button to cancel.
Update Status of a Milestone & Event
Purpose:
Using this option, you can mark the milestones or events which are ‘Completed’ or ‘Pending’.
Steps:
Step 1: Go to tab -> Click on ‘Update Status’  icon on the milestone & event you need to change the status.
Step 2: Select the [Status] as ‘Pending’ for uncompleted milestones/ events and select ‘Completed’ for concluded milestones/ events.
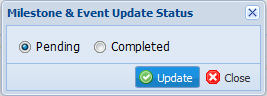
Step 3: Click on button to save changes OR click on button to cancel.
Edit Milestone & Event
Purpose:
To edit information of a created milestone & event.
Steps:
Step 1: Go to tab -> Click on ‘Edit’  icon on the milestone & event you need to edit.
Step 2: Update necessary details of the milestone & event in below ‘Update Milestone & Event’ window.
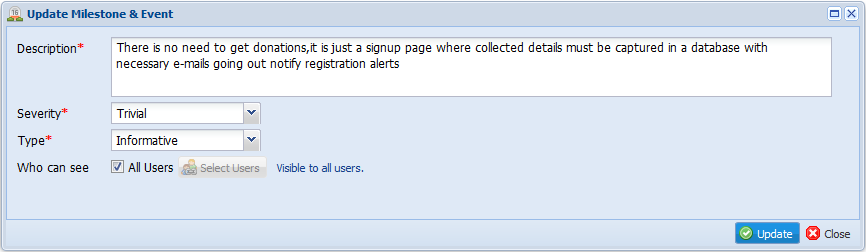
Step 3: Click on button to save changes OR click on button to cancel.
Remove Milestones & Event
Purpose:
Using this option, users can delete milestones or events which have been created previously.
Steps:
Step 1: Go to tab -> Click on ‘Remove’  icon on the milestone & event you need to delete.
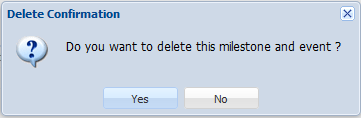
Step 2: Click  button to confirm the deletion OR click
  to deny the action.
Once the deletion is completed  message will be displayed at the bottom of the window.
View Information of Milestones & Events
Purpose:
To view the information of added milestone & event.
Steps:
Step 1: Go to tab -> Click on ‘View Information’  icon on the milestone & event you need to view details.
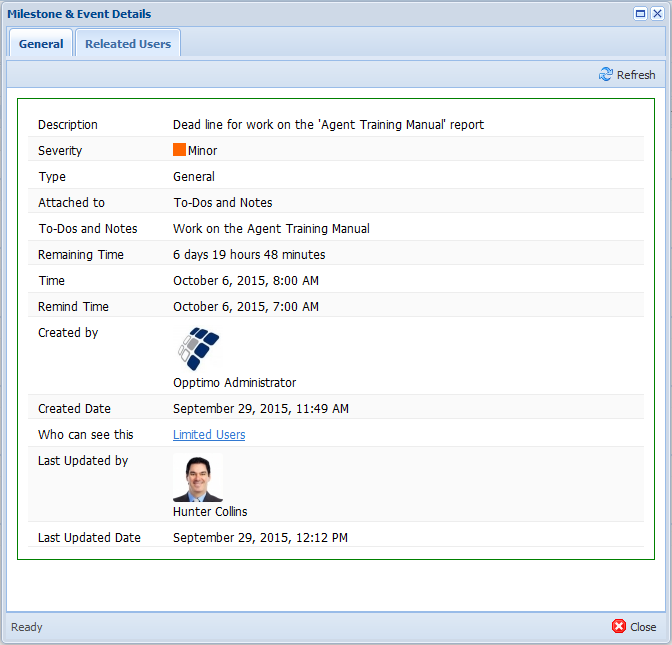
Step 2: Using  tab of ‘Milestone & Event Details’ window, you can view the general details of milestone & event including details of last updated person.
Using  tab, you can view the all users who have permission to view the milestone & event.
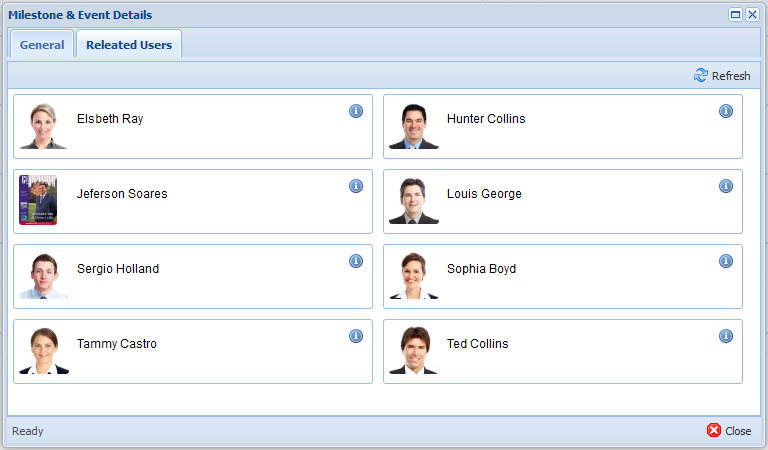
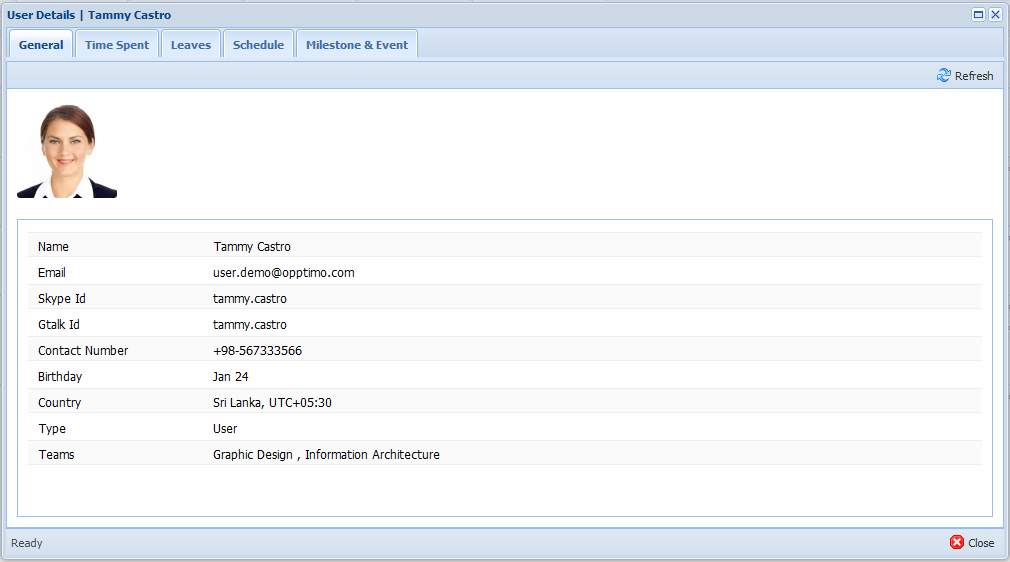
By clicking on ‘View User Information’  icon, you can view the user information of particular user you need as below.
Filter Milestones & Events
Purpose:
Using this option, you can filter milestones or events by Severity/ Status or Date.
(a) Filter by Severity
Steps:
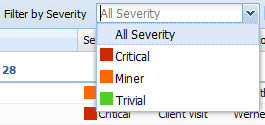
Select the [Severity] option you need to filter from  dropdown as below. If you need to filter milestones or events of all severity levels, select ‘All Severity’ option.
(b) Filter by Status
Steps:
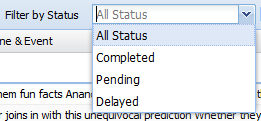
Select the [Status] you need to filter from  dropdown as below. If you need to view milestones or events of all status, select ‘All Status’ option.
(c) Filter by Date
Steps:
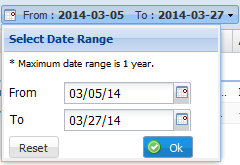
Select [From] and [To] date range you need to filter using  option.
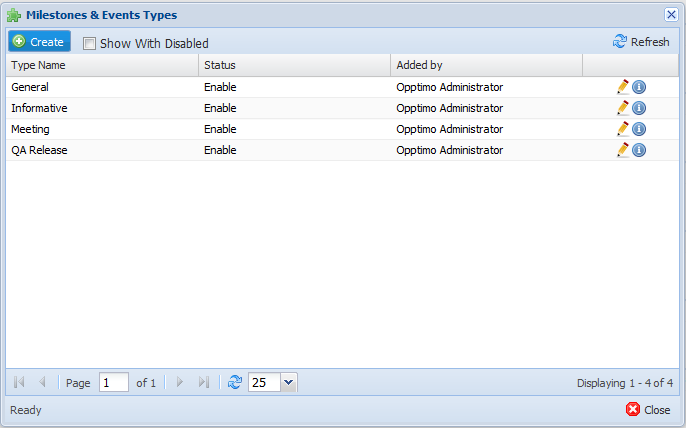
Manage Types of Milestones & Events
Purpose:
To create new milestones/ events type, edit types, view type details and to enable or disable existing milestones/ events types.
Steps:
Go to tab -> Click on  option to open the ‘Milestones & Events Types’ window.
(a) Create new Milestone & Event Type
Steps:
Step 1: Click on option -> Click on  button.
Step 2: Enter [Name] and [Status] of the new milestone & event type in below ‘Create Milestone & Event Type’ window.
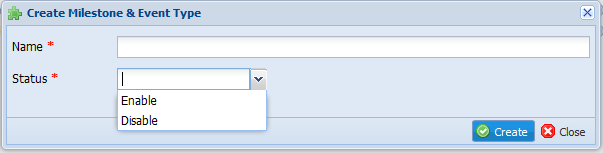
Step 3: Click  button to save the new milestone & event type created OR click
  button to cancel.
(b) Edit Milestone & Event Type
Steps:
Step 1: Click on option.
Step 2: Click on ‘Edit’  icon in front of the [Type] you need to edit.
Step 3: Do necessary changes in the below ‘Update Milestone & Event Type’ window.
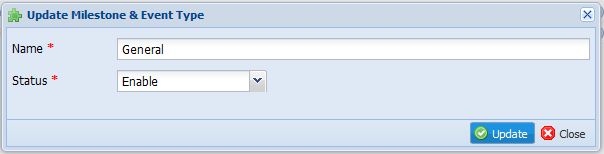
Step 4: Click  button to save the changes OR click button to cancel.
(c) View Milestone & Event Type Information
Steps:
Step 1: Click on option.
Step 2: Click on ‘View Information’  icon in front of the [Type] you need to view type details and below ‘Milestone & Event Type Details’ window will appear.
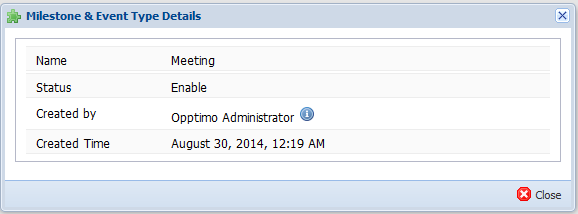
Step 3: Click button to exit from the window.
(d) View Disabled Milestones & Event Types
Steps:
Click on option -> Select  option.
Export Milestones & Events
Purpose:
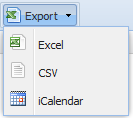
Using this option, you can export milestones & events into Excel/ CSV or iCalendar that can be viewed in Microsoft Outlook or in Google Calendar.
Steps:
Step 1: Go to tab -> Click on  button.
Step 2: Select the format you need to export milestones & events as below.
Step 3: Do necessary changes in below ‘Export Milestones & Events’ window.
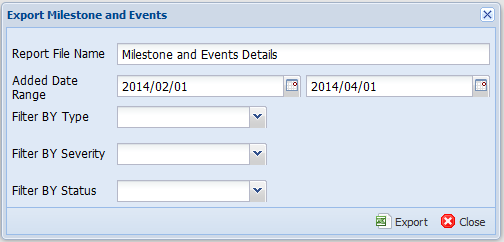
Step 4: Click  button OR click
  button to exit from the window.