Schedule
Purpose
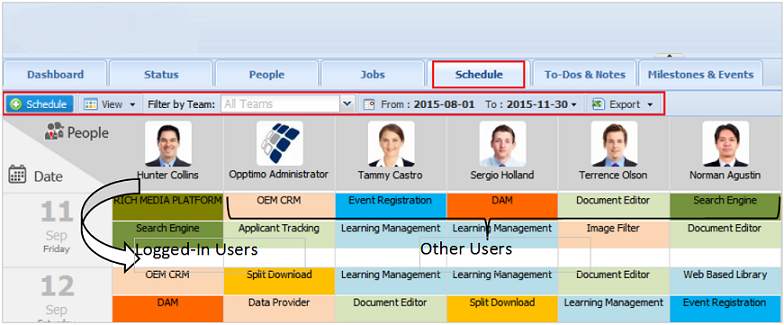
"Schedule" module provides 2D (two dimensional) representation of job details of scheduled jobs / allocated jobs along with the date. Users can view their own job schedules as well as others. This module is very useful for managers to identify what are the assigned works for their subordinates/ team members in future.
Steps:
Main view -> Click on "Schedule" tab
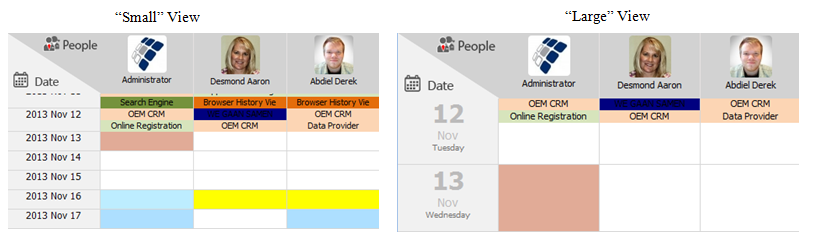
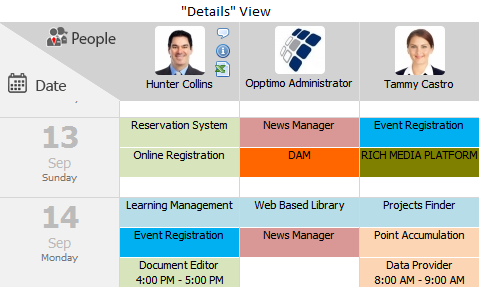
Users can view schedule in "Compact" OR "Expanded" OR “Details” view using  ,
,  ,
,  option in toolbar.
Note:
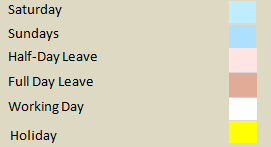
In the schedule calendar, holidays and leaves are marked with different color codes as below:
Filter Schedules by Team
Steps:
Go to "Schedule" tab -> Select team form "Filtered by Team"  drop-down.
Add Comments/ Notes on Schedule
This facility is available ONLY for Admin and Manager type of users in OPPTIMO application.
Steps:
Step 1: Go to "Schedule" tab -> Keep mouse cursor on the user you need to add comment.

Step 2: Click on "Add Comment"  icon.
icon.
Step 3: Enter the "Title" of the note and type your message in the "Message" text box in the below screen.
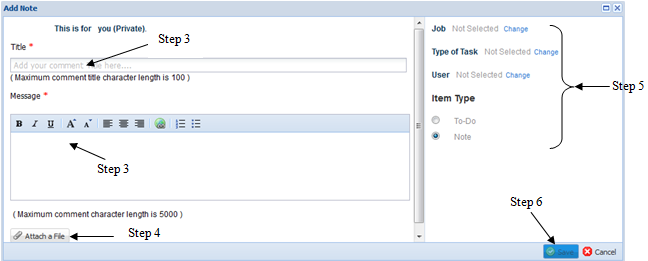
Step 4: User can attach any files to note by clicking on  button -> Click on
  -> Select the file you need to attach -> Click “Open” button
Step 5: User can change the "Job", "Type of Task", "User" and the "Item Type" of the note.
Step 6: Click on  button to save the note to the database or click on
  button to cancel the operation.
View User Information
Steps:
Step 1: Go to "Schedule" tab -> Keep mouse cursor on the user you need to view.

Step 2: Click on "View Info"  icon to open "User Details" window.
Schedule for Multiple Users
Purpose
This option provides the facility to schedule a single project for multiple users on specific dates.
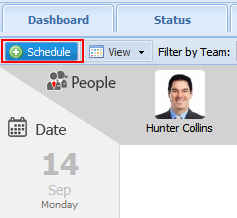
Step 1: Go to "Schedule" tab.
Step 2: Click on  button the “Schedule” tab.
Step 3: In the “Schedule Job” window click on  button.
Step 4: In the “Select Users” window, mark  the users you want to schedule and click
  button.
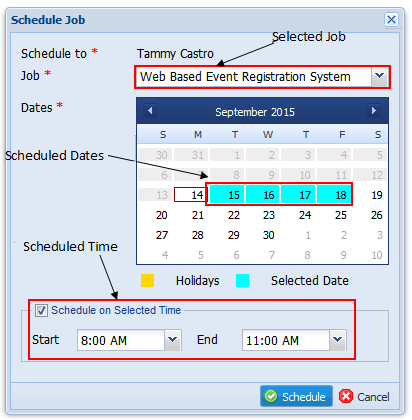
Step 5: Select a job to schedule, select the dates to schedule, a time to schedule and click button.
Schedule for Selected Time Slot
Purpose
This option provides the facility to schedule a single project on a specific time slot in selected dates.
Step 1: Go to "Schedule" tab.
Step 2: Click on "Add Schedule"  icon.
icon.
Step 3: Fill the necessary details as in the below screen and mark schedule “Start” and “End” time and click button.
Export Schedules
Manager and Admin type users can export schedules of others users in CSV or Excel formats.
• Export Schedules of All Users to a CSV File
Steps:
Step 1: Go to "Schedule" tab -> Click on 
Step 2: Select "CSV"
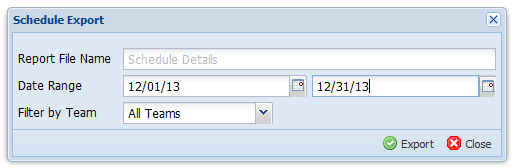
Step 3: Select the < Report File Name > and select < Date Range > by using calendar  icon in below "Schedule Export" window. If you need to generate report of the schedule for a specific team, select the team form
  drop-down list.
Step 4: Click on  button.
Step 5: Click on "Yes" to confirm the action in "Export" pop-up box.
• Export Schedule of a Specific User
Steps:
Step 1: Go to "Schedule" tab -> Keep mouse cursor on the user you need to view.
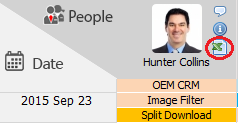
Step 2: Click on "Export Schedules"  icon.
icon.
Step 3: Select the < Report File Name > and select < Date Range > by using calendar icon in below "Schedule Export" window.
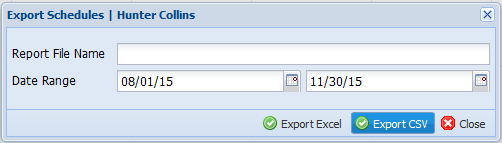
Step 4: Click on  if you want job schedule report in Excel format OR click on
  if you need report in CSV format.
Step 5: Click on "Yes" button in "Export" pop-up box to confirm.
Add Schedules
This option is available ONLY for Admin type users. Using this option, managers and admin can schedule jobs for other users of the company.
Steps:
Step 1: Go to "Schedule" tab -> Keep mouse cursor on the date in Date  column under the user in People
  column, whom you need to schedule a job.
Example:
If you need to schedule a job on 01st October 2015 for "Hunter Collins" User, you need to keep the mouse cursor on "2015 Oct 01" in Date column under "Hunter Collins" in People column.
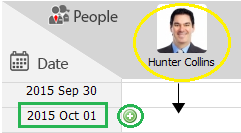
Step 2: Click on "Add Schedule"  icon.
icon.
Step 3: Select the < Job > from "Add to Schedule" window.Select the schedule dates from the calendar, select a time to schedule on daily basis and click .
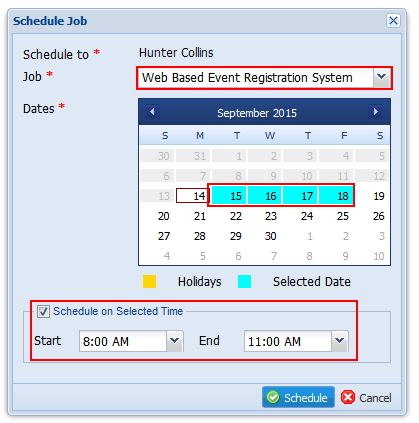
Note:
Use Ctrl key + Mouse click to select more than one day in the calendar. According to the number of days selected, "Newly Selected Date Count" and "Total Scheduled Date Count" values will be changed.
Step 4: Click on button save the schedule OR click on button to exit.
Manage Work Details
Purpose
"Schedule" tab offers the facility of adding and managing tasks of users. To add tasks, click on  icon. This facility is available ONLY for Manager and Admin type users only.
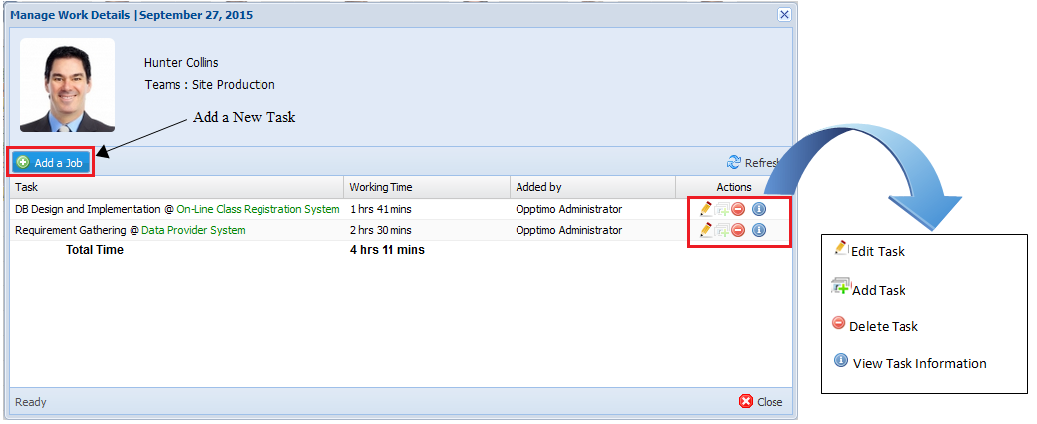
- Add a New Task
Steps:
Step 1: Go to "Schedule" tab -> Select date you need to add task -> Click on "Add Task" icon.
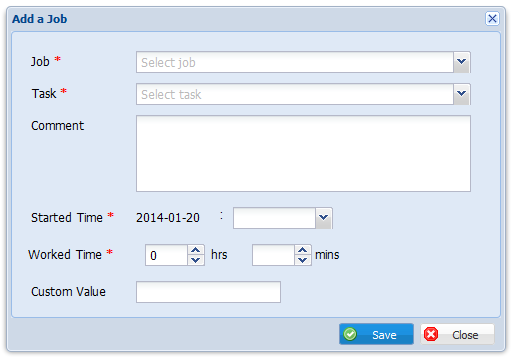
Step 2: Click on  option in "Job Details" window.
Step 3: Select < Job > and [Task] from the respective drop-down list. Enter < Comments > (if need). Select the < Started Time > and < Worked Time > from the drop-downs.
Step 4: Click on button save the schedule OR click on button to exit.
- Edit Task on a Schedule
Steps:
Step 1: Go to "Schedule" tab -> Select date -> Click on "Add Task" icon.
Step 2: Click on "Edit Task"  icon in front of the task you need to edit in "Job Details" window.

Step 3: Do the modifications in "Update a Job" window.
Step 4: Click on button save the schedule OR click on button to exit.
- Schedule a Task
Steps:
Step 1: Go to "Schedule" tab -> Select date you need to schedule task -> Click on "Add Task" icon.
Step 2: Click on "Add To Schedule"  icon in front of the task in "Job Details" window.

Step 3: Click on "Yes" button in "Attention" confirm pop-up box to verify the action. Then the task will be added to schedule and icon will be disabled.
- Delete Task
Steps:
Step 1: Go to "Schedule" tab -> Select date -> Click on "Add Task" icon.
Step 2: Click on "Delete Task"  icon in front of the task you need to delete in "Job Details" window.
Step 3: Click on "Yes" button in the "Confirm Deletion" pop-up box, to verify the action.
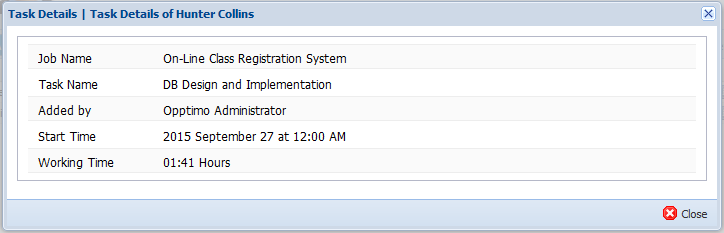
- View Task Information
Step 1: Go to "Schedule" tab -> Select date -> Click on "Add Task" icon.
Step 2: Click on "Task Details" icon in front of the task you need to view information to open "Task Details" window.
Delete Schedule
This facility is available ONLY for Manager and Admin type users only.
Steps:
Step 1: Go to "Schedule" tab -> Keep cursor on the schedule you need delete
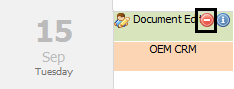
Step 2: Click on "Delete Schedule"  icon.
icon.
Step 3: Click on "Yes" button in below pop-up box to confirm the deletion.
Note:
Users can delete only one scheduled date at a time. Bulk dates removal is not available.
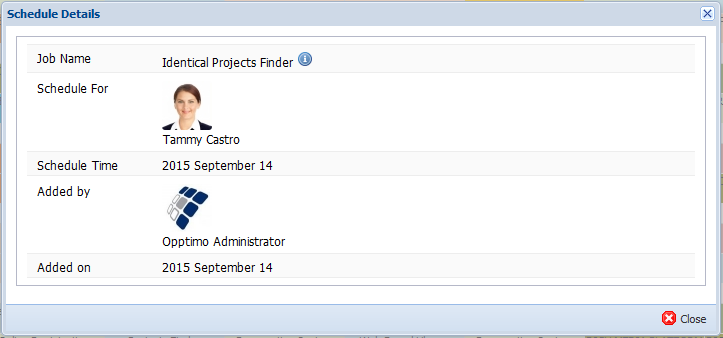
Schedule Details
Steps:
Step 1: Go to "Schedule" tab -> Keep cursor on the schedule you need view details.
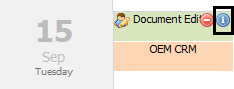
Step 2: Click on "Schedule Details" icon.
View Schedules by Date
Use  option to view schedule on selected date range.
Steps:
Step 1: Go to "Schedule" tab -> Click on option in toolbar.
Step 2: Select < From > date and < To > date by clicking on calendar  icon at the end of respective fields. Maximum date range you can filter is 1 Year.
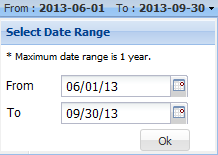
Step 3: Click on "OK" button.